Hello, PENPLEs!
We are back with drawing tips from @icegido.
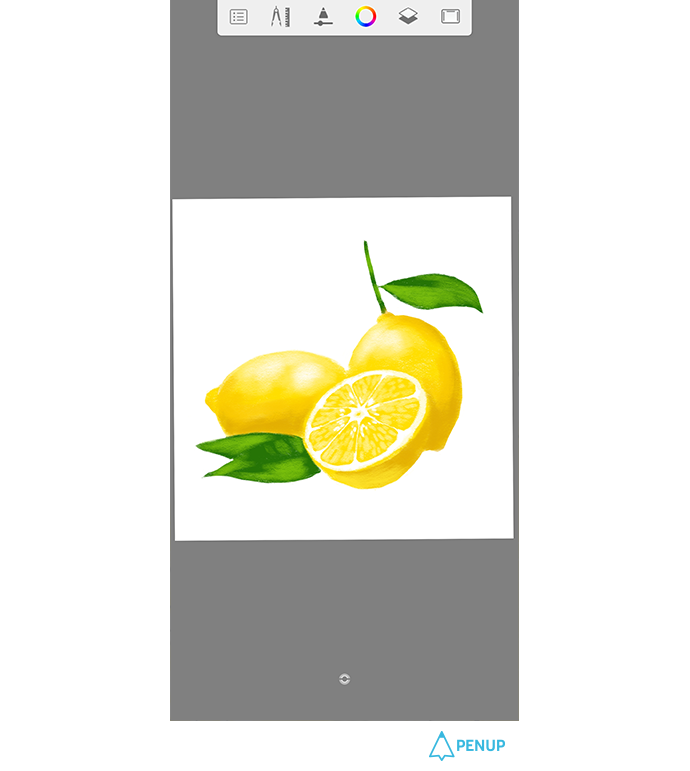
The first theme of the artist’s drawing tip is on “Draw a lemon”.
It is said that the drawing tip is of less difficulty, so even the beginners can follow along with not so much hardship.
Please draw along with us the fresh and sour lemon.
We will use SketchBook for the drawing app.
Shall we start?

TUTORIAL by @icegido
Draw a lemon
with SketchBook
Hello, PENUP users.
I am illustrator Seo Jae-seong with the PENUP nickname as @icegido.
We will draw a lemon with Autodesk Sketchbook.
Lemon is an object that can be expressed with only two colors.
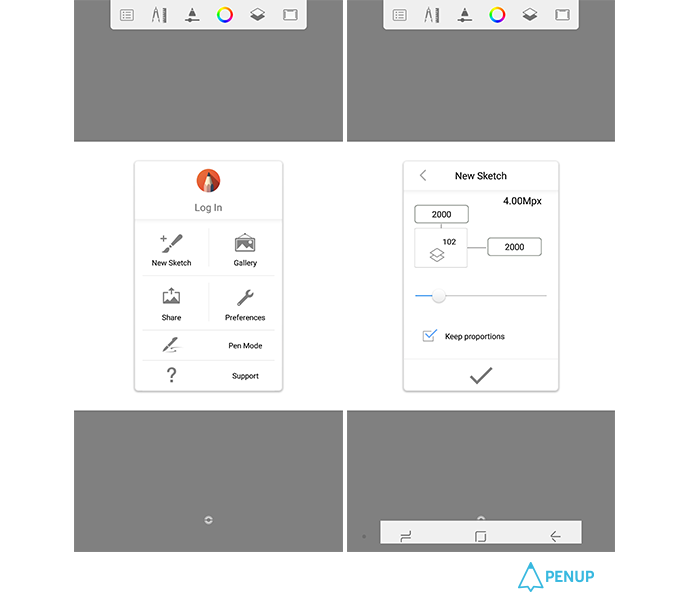
We should first prepare a canvas, right?
I set the size to 2000x2000 by setting it as new sketch – user properties from the left top menu button.
If you are aiming for a smartphone homescreen, you need to set it to the smartphone pixel. (GALAXY Note 8 : 1440 x 2960)
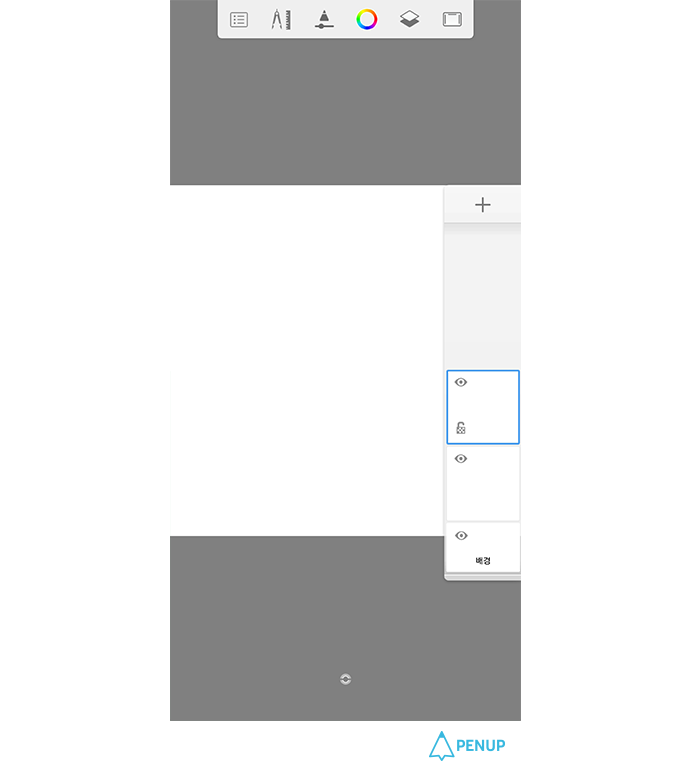
When you’ve generated a basic canvas, click on the checked part to add a new layer.
It will be better to do a sketch on the added layer (top layer) to make the coloring easier.
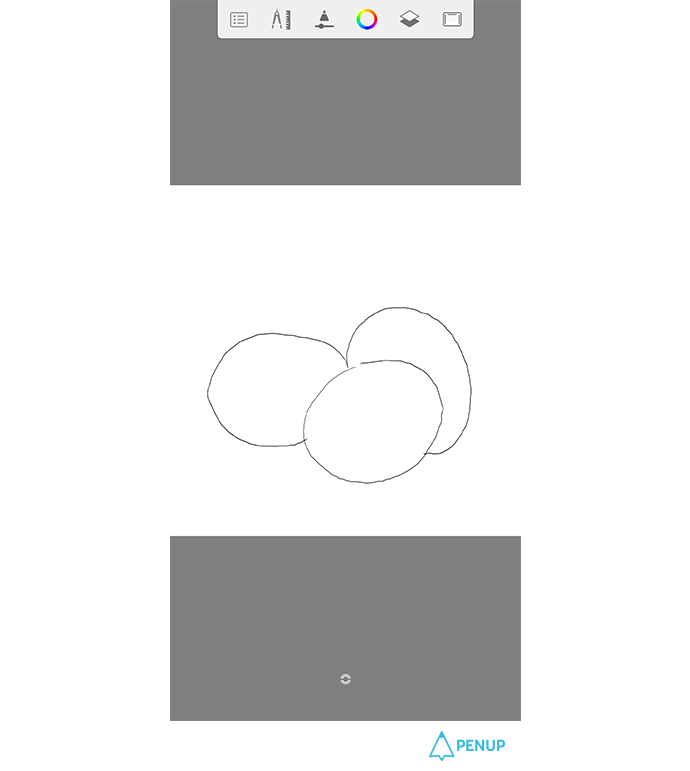
It’s time for us to do a lemon sketch.
Lemon is a natural object, and it varies in color and shape.
So you need to get rid of the thought of drawing exactly the same with the reference.
First, get the overall location and put in three ovals.
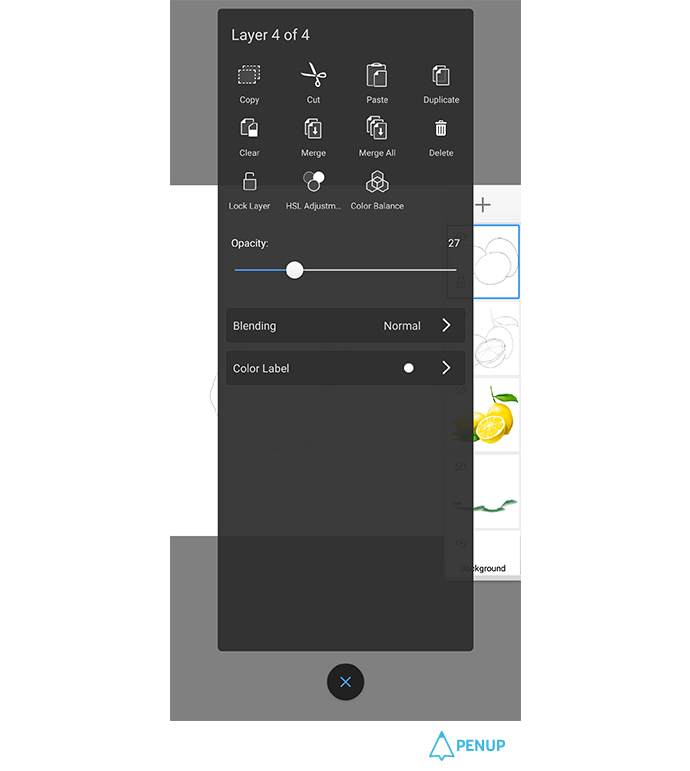
When you press the layer with three ovals, you will have a window seen in the drawing.
Here, you should set the opacity level lower.
This is a basic drawing for detailed sketch; it lays down everything very softly.
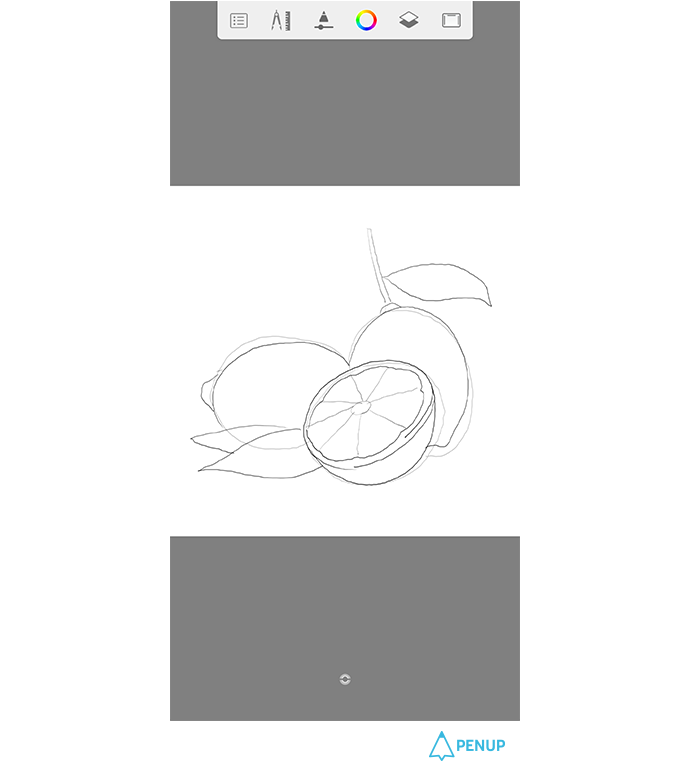
Based on the dim shape, get the specific lemon shape done.
The special feature of a lemon in terms of shape is on its cut-end.
So, it will be better to get the cut-end shown.
The sketch is almost done.
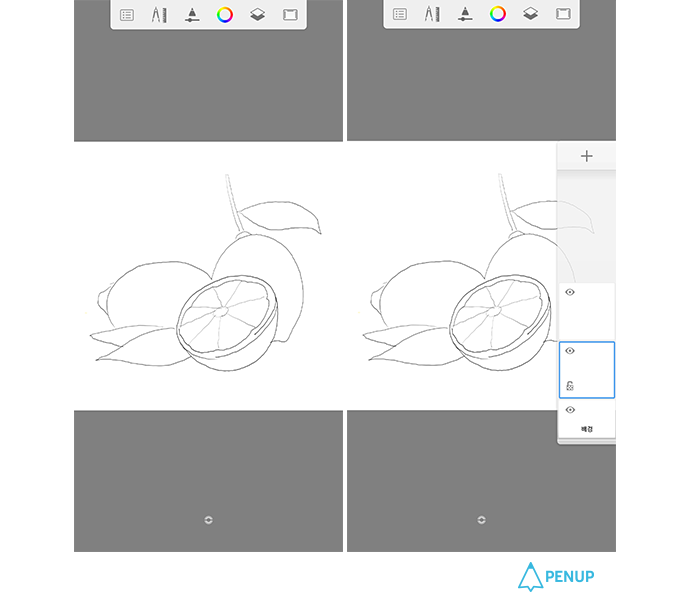
Now, we don’t need the three ovals from number 4, so you can turn off the layer or even delete it.
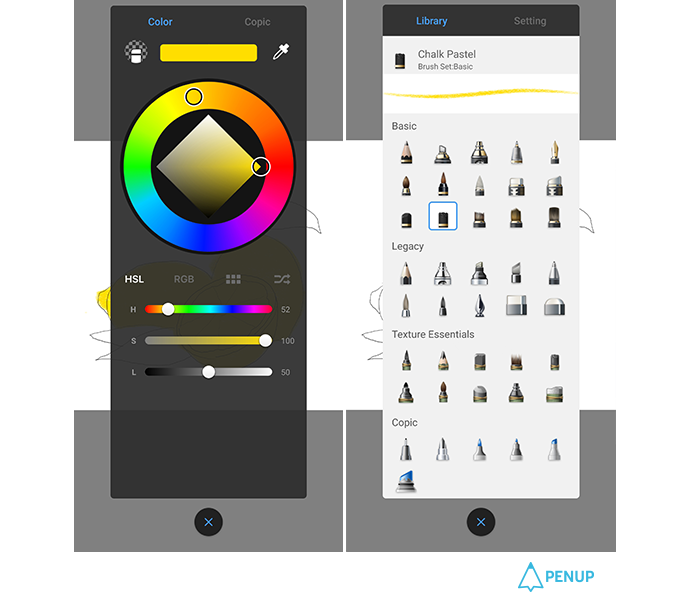
Now, it is time for us to color the lemon overall.
Select the color a bit darker than the general lemon color, and select “Chalk pastel” from the brush tool.
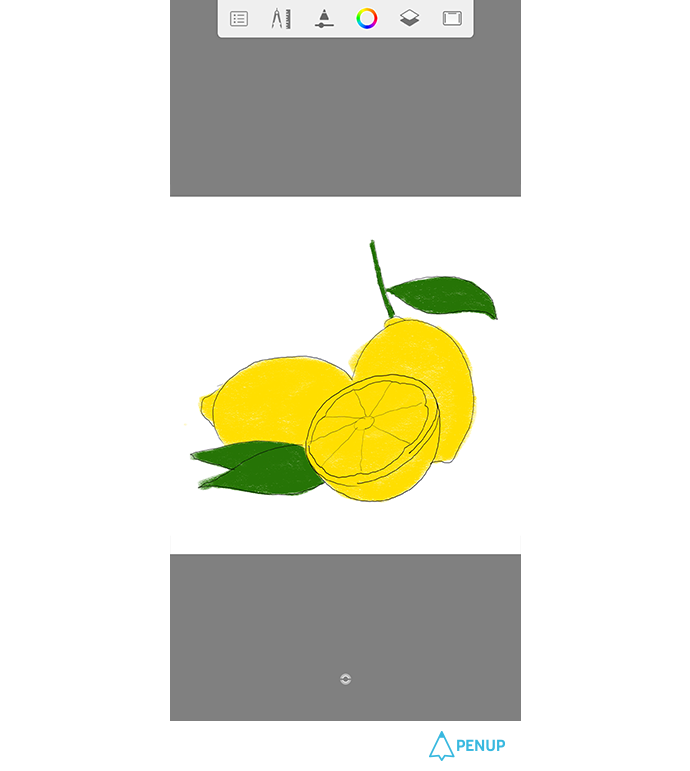
Color every part with the rough chalk pastel.
Select green to color the leaf of the lemon.

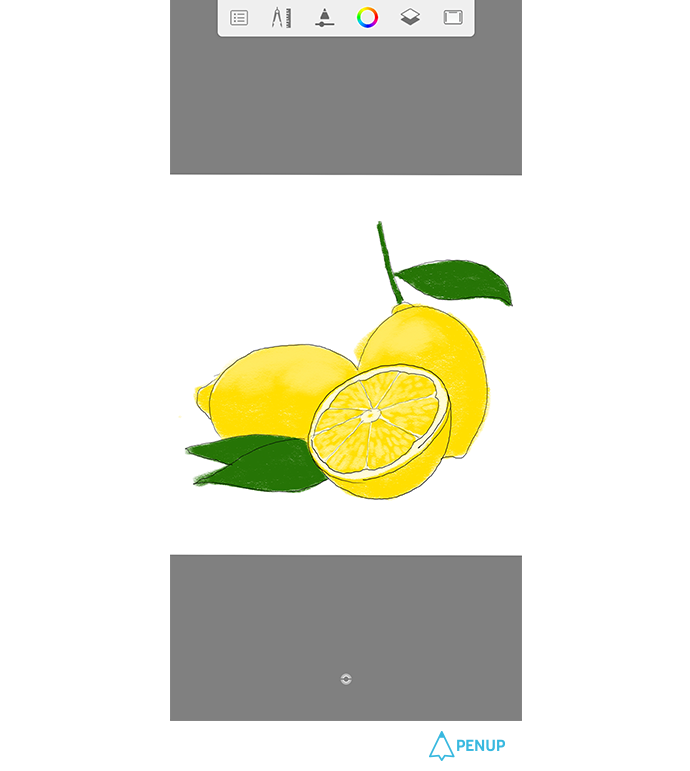
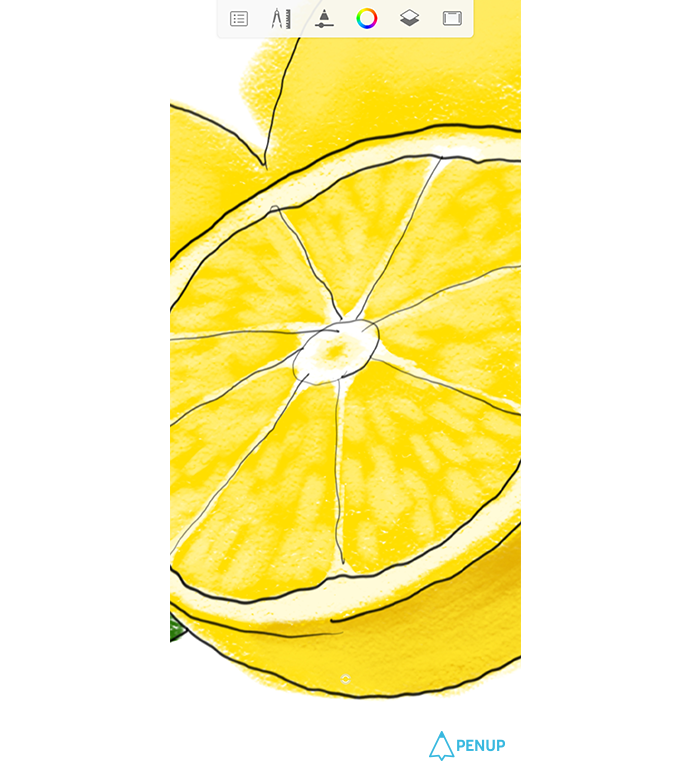
Start detailed coloring from the lemon’s cut-end.
Divide the boundary of the white lemon skin and the juice part with light color to divide them up.
Additionally, you need to get the detailed pulp done; instead of having every detail one by one, just draw as if you are leaving oval-type dots to get the chalk pastel brush feel.
Now, it is time to get the light and shade of the rear lemons.
You need to use a brighter color than the one used in the previous lemon to color the bright part of the lemon.
Don’t color every part. Instead, use the “Chalk pastel” features by slanting the pen a bit and drawing it smoothly with no pressure.
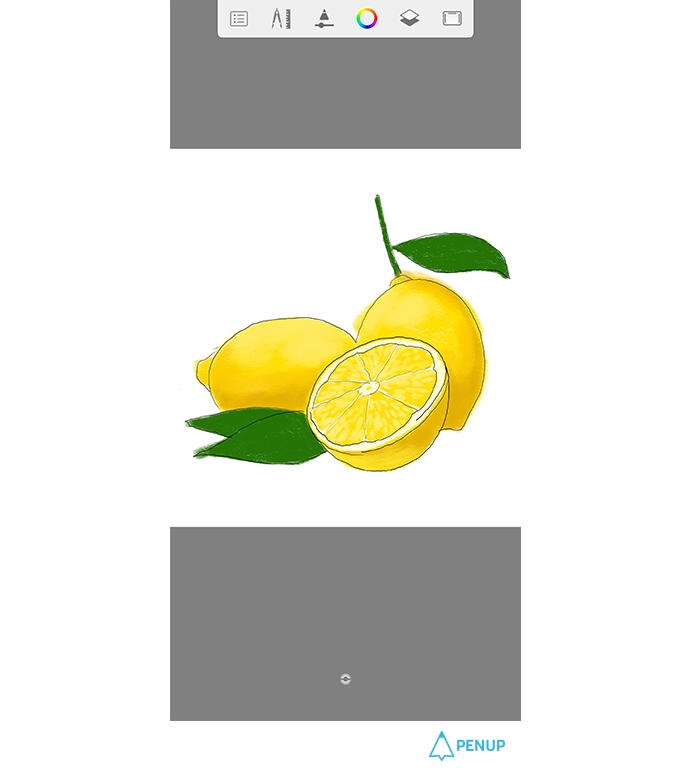
Once you are done with the lighter part, it is time for us to do the dark part.
Select the darker color than the previously colored part.
Similarly, relax the fingers and slant the pen a bit to draw.
It is okay if the color gets out of the sketch lines. (Will give you details on why later)
The basic yellow lemon flesh is done.
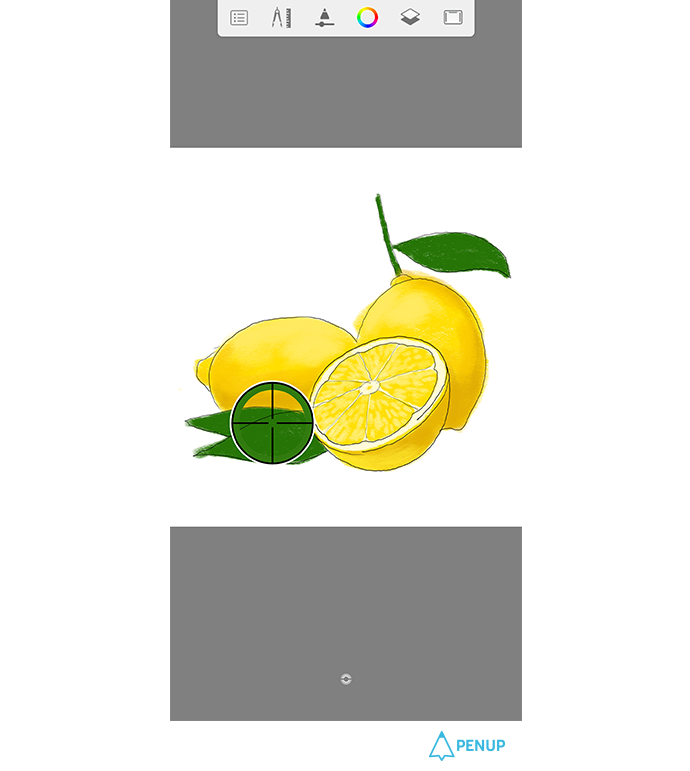
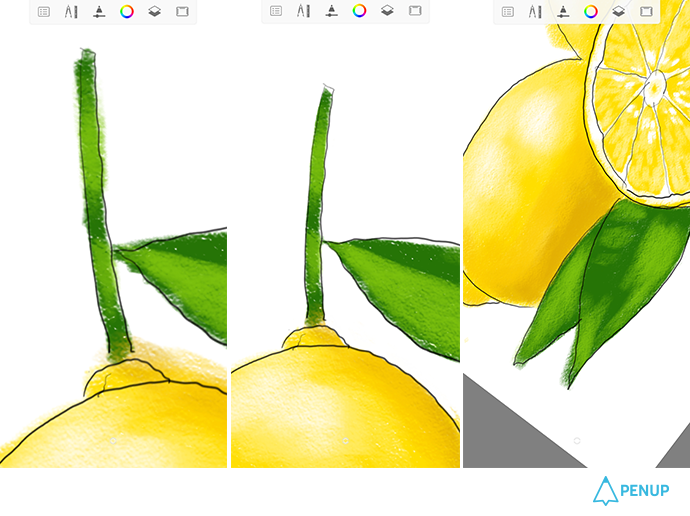
It is now time for us to do the light and shade of the lemon leaf.
Use the eyedropper tool to select the leaf color.
Press the color tool to drag it to the lighter part.
Then you can select naturally lighter color.

Likewise, relax your fingers.
Lay down the pen a bit to draw it towards the direction of the leaf stem.
You don’t have to mind if the lines get out of the sketch lines.
It’s time to get the details of drawing done.
Select the white color and get the boundary of the pulp more detailed.
Here, if you touch some parts of the oval parts in the pulps, you will get fresher expression.
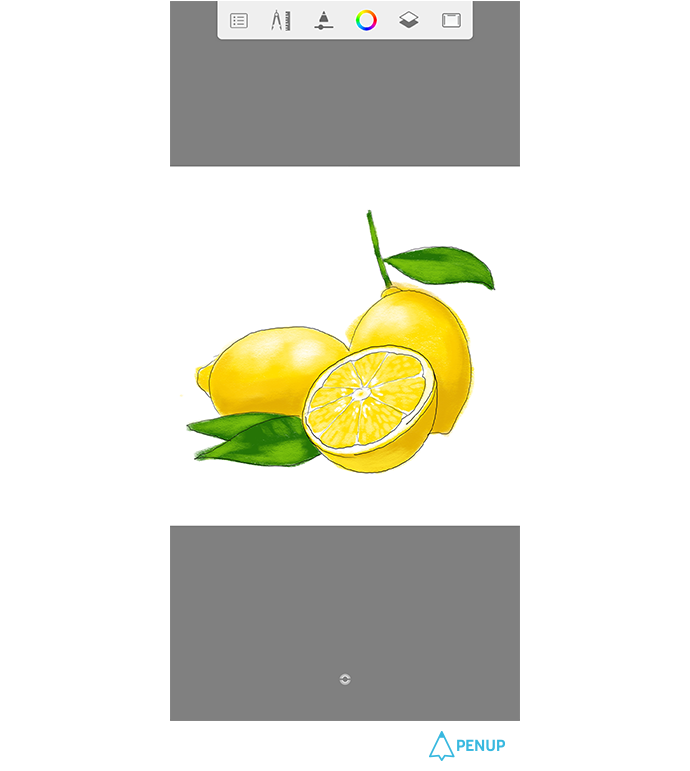
It’s time to get everything organized.
We are almost done.
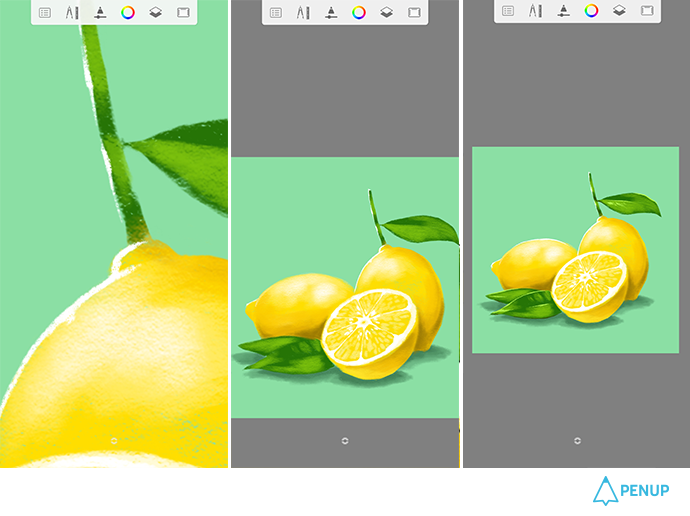
If you downsize the canvas, you will see some parts that need improvement in the drawing in a more objective manner.
(You can get a glance at the drawing if you either upsize or downsize the canvas time to time.)
For the parts that got out of the way of the sketch, you can get them cleared out here.
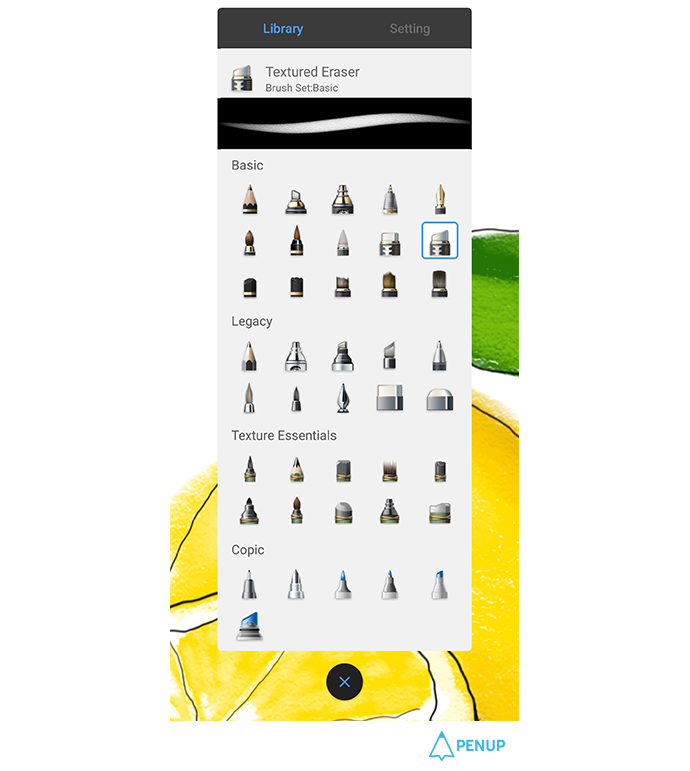
This is the fun part.
Select the “Textured eraser” in the basic brush tool.
Select the “Textured eraser” and erase the protruded parts along the sketch line to get the shape done.
It will be nice to consider the eraser as a transparent pencil.
You can adjust the shape with the eraser in whichever way you want.
Now, turn off the sketch layer that has been up until now, and get a closer look at the drawing.
As the sketch lines are gone, the lemons’ boundaries have become unclear and they seem to be attached to each other.
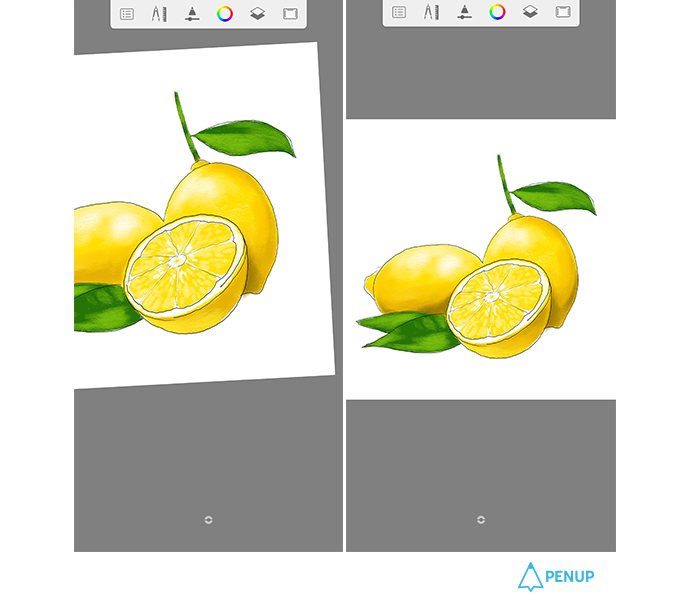
Then, turn on the sketch line layer once again.
Divide the lemon boundary with a darker color.

To add more taste to the drawing, we will add a background.
There is a separate background layer in the sketchbook.
So it is simple to add or delete the background color.
Press the layer setting, and select the “background” layer from the bottom.
This way, you can select the color right away; I set it to blue to make it seem more summer-like.

With addition of background color and removal of sketch lines, it seems like the lemons are flying in the air.
Now, let us put in a shadow.
Add a layer at the lowest bottom.
Then, select the background color with the eyedropper tool.
Change it to darker color.
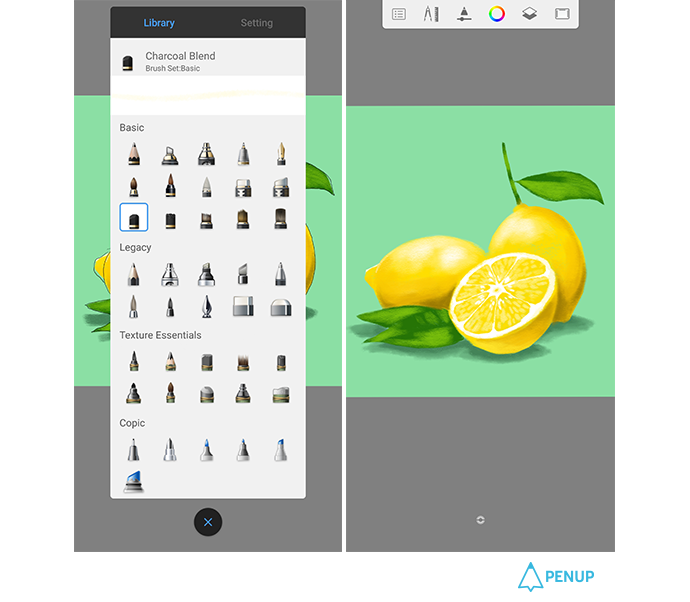
The shadows seem to be too hard.
Select “Charcoal blend” from the basic tool.
Then, relax the hand and smudge softly the shadow and the background boundary.
With one last cleaning stage, the drawing will be done.
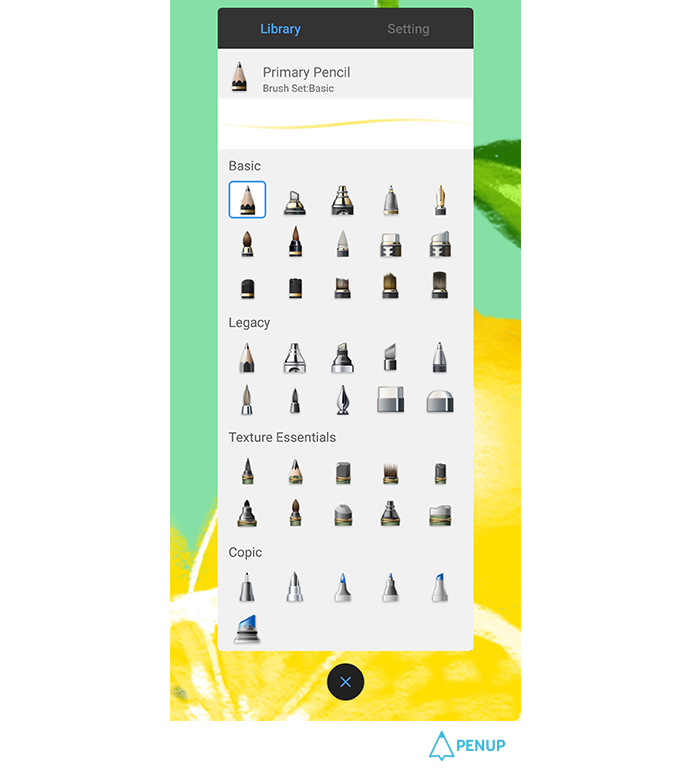
Select white color and select “primary pencil” in the basic brush tool.
Tide the drawing up with white color along the background and lemon’s boundary while enlarging the image.
Take into consideration the direction of the light, and just color it with white.
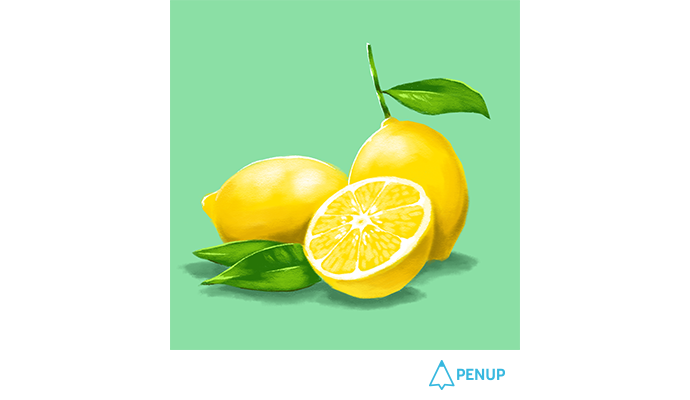
Now, we have a lemon here.
It is a free app with restricted number of brushes.
But it could be a very good app according to the skills of the user.
The app quality is important, but abundant experiences are as important.
Hope everyone comes up with good pieces.
How was it?
We look forward to more drawings of fruits with this drawing tips.
Please share with us the variety of fruits that differ from countries to countries and from season to season.
When you upload the drawings, you may upload them on “drawing app” category or with #DrawingTips hashtag.
We will come back with next drawing tip.
Thank you.
PENUP - Share your drawings!
https://www.penup.com-The PENUP Team
 |
|