Hello, PENPLEs!
Do you have a character of your own?
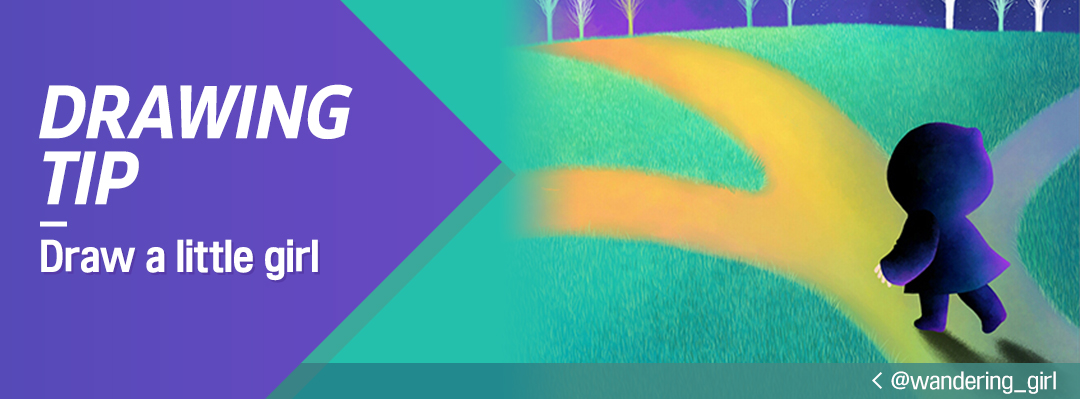
For this drawing tip session,
we will learn drawing the character “little wandering girl” from @wandering_girl.
We will use the “MediBang Paint” illustrator tool,
and will learn how to use the tool in-depth.
This will probably a cool tip for those users
who find it difficult to use the tool.
Now, let us start!
TUTORIAL by @wandering_girl
Draw a little girl
with Medibang Paint
Hello,
I am @wandering_girl.
I often use “MediBang Paint” app.
The best part about this tool is the cloud feature, various brushes and unlimited layers.
Let me show you how I draw the wandering girl with MediBang Paint.
First of all,
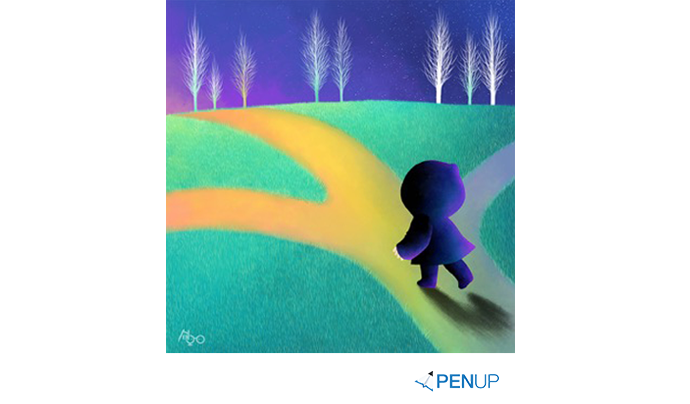
I will try to explain what I will draw today so that you could imagine the picture.
As the darkness shadows,
the wandering girl arrived on three-way street.
However, she doesn’t know now which way will lead her to her home.
She may have to wander about in the darkness the whole night.
But, this doesn’t matter to the wandering girl.
She will be so happy to wander about the whole night with the hopes for new experience.
Let me start from now.
I am using Galaxy Note 4.
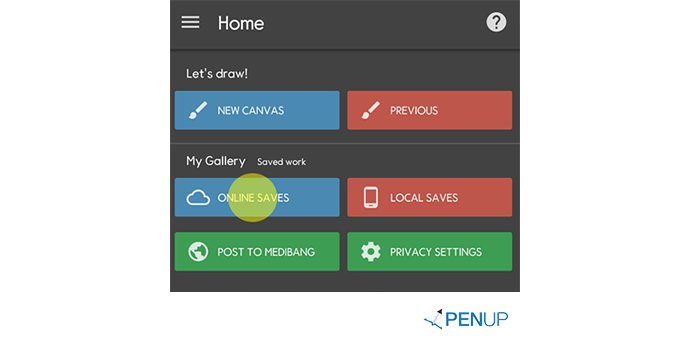
This is the first screen
you will see when you launch MediBang Paint.
I am going to use the Cloud feature.
There is a PC version of MediBang Paint, so you could continue on with the drawing that you did on with smartphone via the cloud feature.
You should select “On-line”.
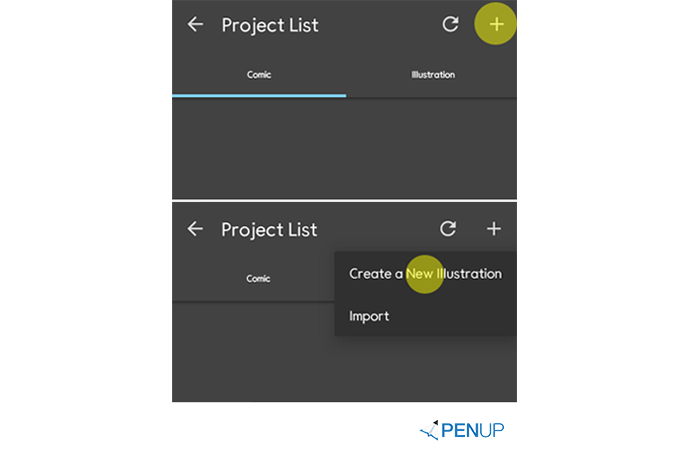
After selecting the illustrator tab, you will see two menus when you tap on “+” button on the top right part.
Then, you should select “draw new illustration” first.
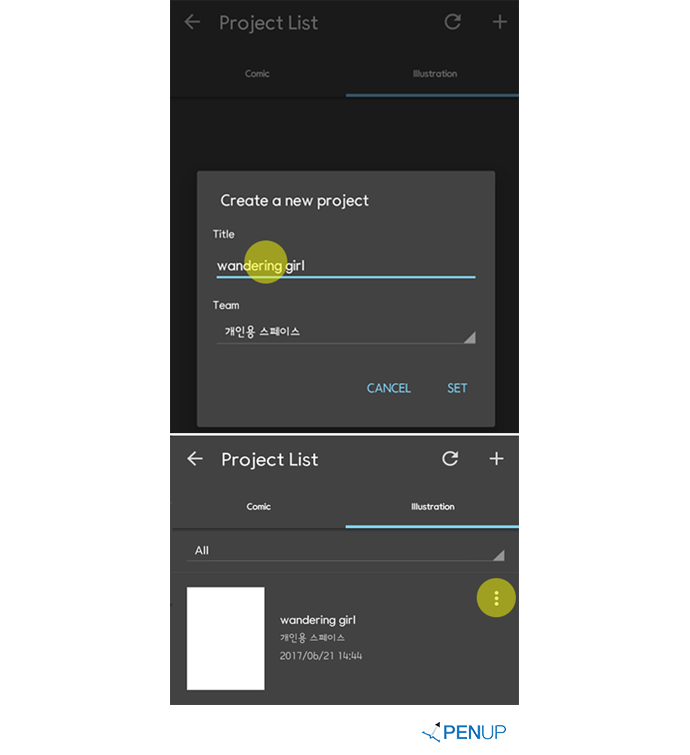
Then, you should type in the title of the drawing.
You will see the “wandering girl” project on the list.
When you choose the three dots on the top right in the project, you can set the size and the resolution of the new project.
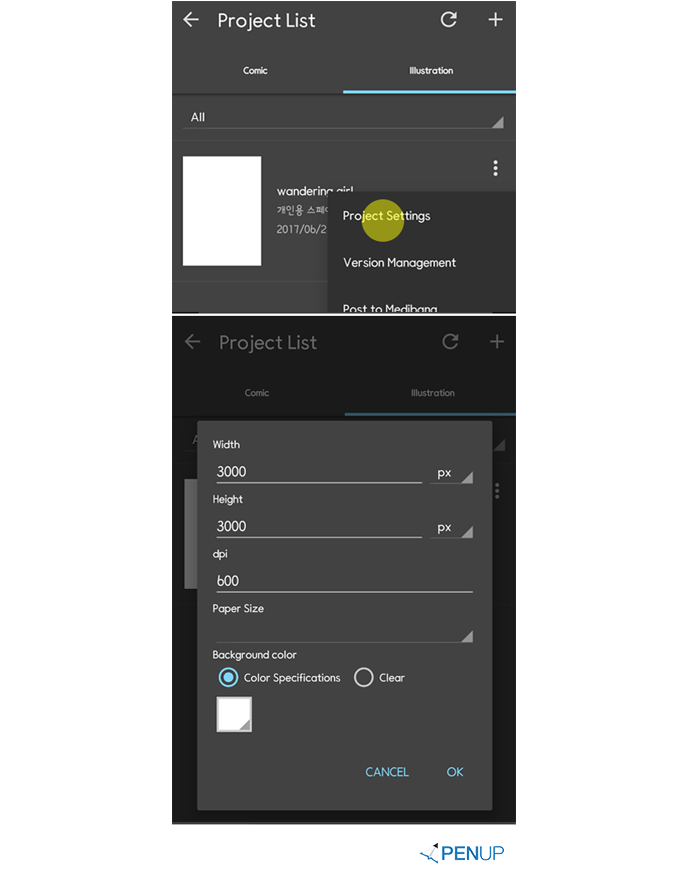
I set the size as 3000px with 600dpi resolution.
Then, tap on “OK”.
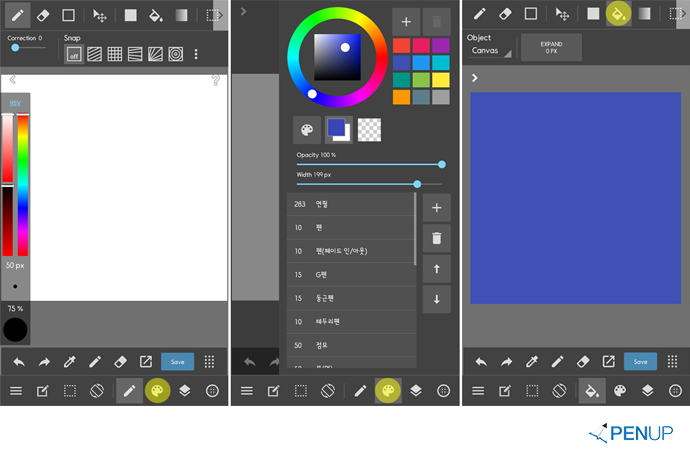
This is the drawing scope in MediBang Paint.
I will start with the background.
Select the palette icon at the bottom.
When the option window appears, you should select the color you want from the color palette.
Then, re-select the palette icon in the bottom and close the option window.
Then, choose the paint bucket icon above. Next, touch the selected drawing scope, and then fill in the color.
Then select the layered icon, and open the layer option window.
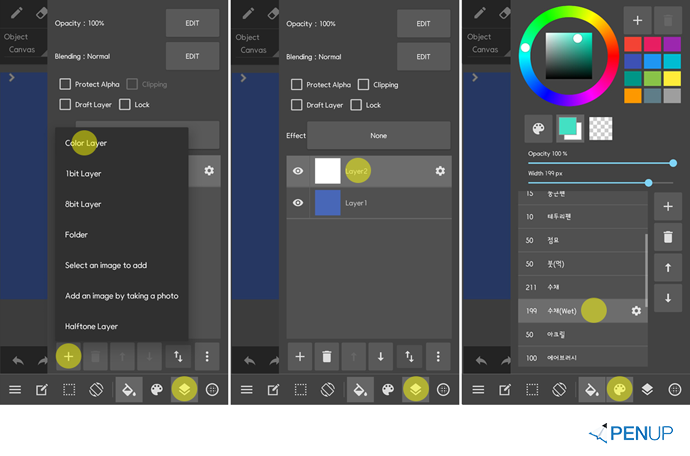
When you select + button on the bottom left of the layer option window, you will see a number of menus in relation to layer production.
Select “color layer”.
Check if the new layer has been selected, and select the layer palette icon.
Then, close the option.
Now, select the palette icon once again.
Choose the color and the brush type.
I chose “watercolor” brush.
You can adjust the transparency and width level when you paint through the brush option.
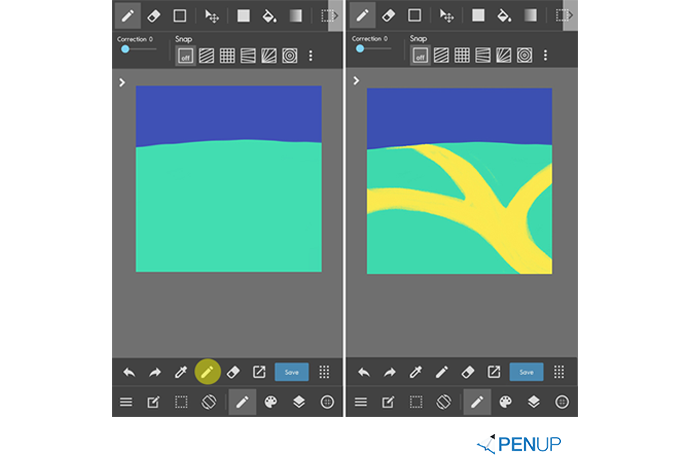
Close the palette option window.
Then, select the pencil icon, and draw the ground in the shape you want.
The pencil icon is brush option.
Draw yellow street.
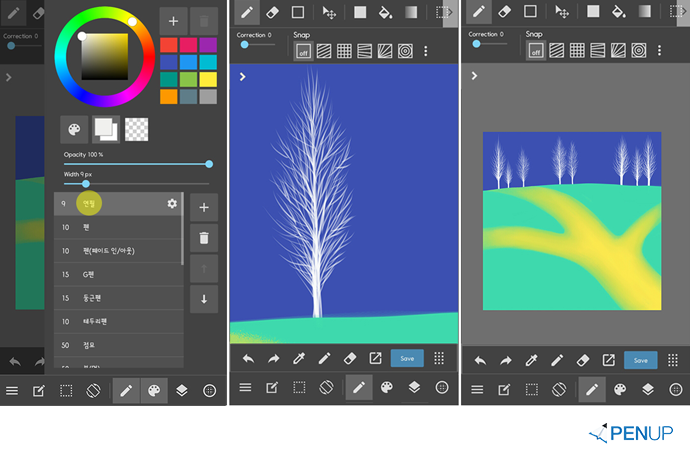
Then, choose the pencil brush to draw in the tree far sight.
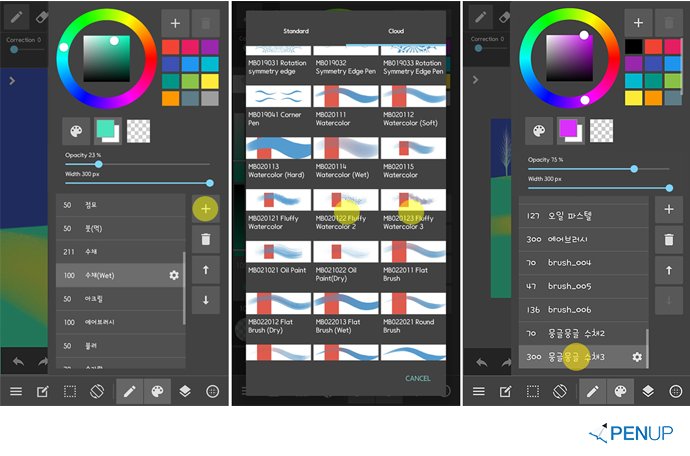
Before we draw the sky, let me add a new brush type.
Select the + button at the top of the palette option window.
The brush list on cloud tab is a variety of brushes offered for free at MediBang Paint.
Select a two “mongle mongle watercolor” brush to draw.

Add a new layer to draw the sky and use the “mongle mongle watercolor” brush to color some parts like stains.
When you select the dotted square icon at the bottom, a number of optional menus will appear.
Then, select the “enlarge/ reduce” button among them.
Then there is deformation tool around the stain paints.
Select the edges and extend the edges in the diagonal direction.
When it extends to certain extent, tab on the “confirm” button.
Do similar presentation with the sky at the opposite side.
The light on the left side is slowly disappearing with darkness coming from the right side.
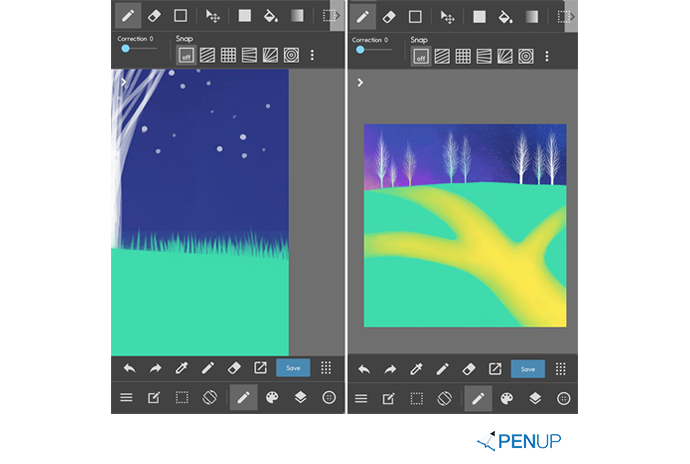
Use the pencil brush to draw in sky, stars and grass on the land one by one.
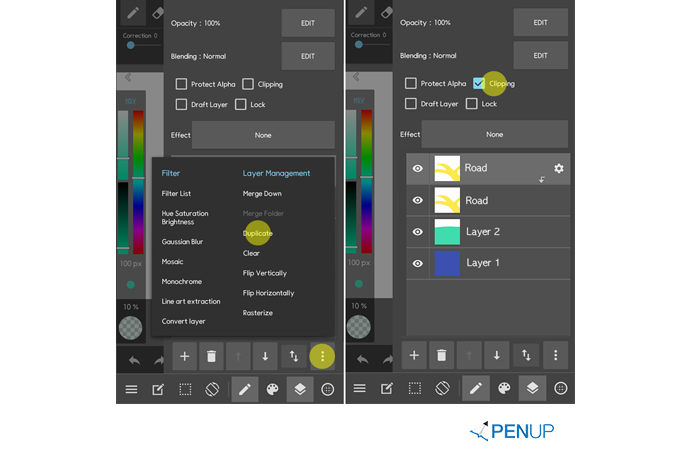
To depict the street, copy the “street” layer.
Then select three dots at the bottom of the layer option window.
Select “copy” feature from the layer function related menu.
Select the copied layer and check the “clipping” menu on top.
Now there is an arrow folded downwards in the copied layer.
Now, the copied layer is subordinated to the bottom layer.
Whatever you do on the copied layer, it would not go out of the original layer’s street form.
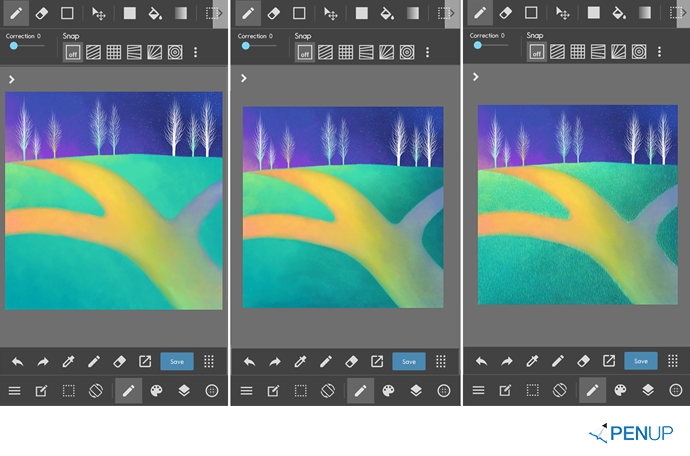
Then depict the street with the “mongle mongle watercolor” brush.
I adopted the light and dark shades of the sky onto the street.
Do the same on the field.
To give more smooth effect on the grass, I used the pencil brush to draw in the grass one by one.
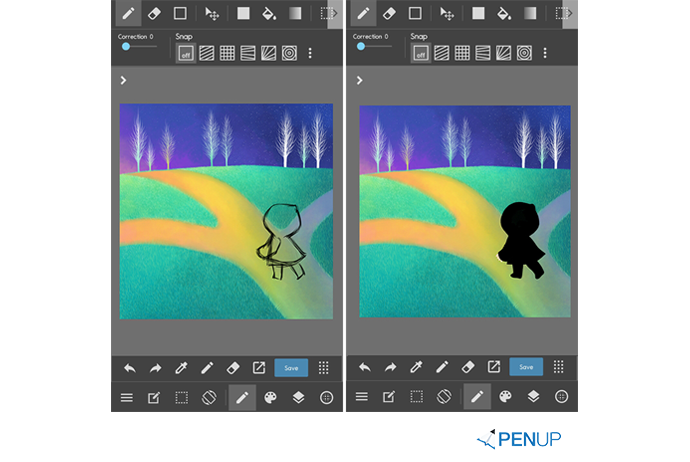
Now, it’s time for us to draw in the wandering girl.
First, decide on the location and form with the pencil brush, and then color in with the watercolor brush.
By using the tactic used for the background, “copy” the wandering girl layer and do “clipping”.
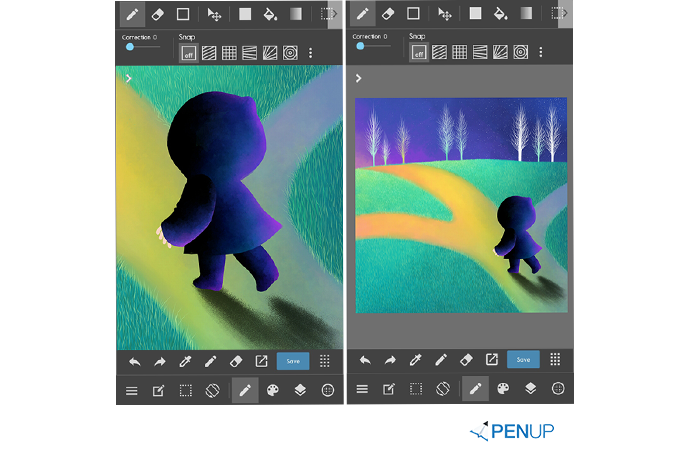
Then use the “mongle mongle watercolor” brush to depict the jacket.
Then draw in the long shadow under the girl’s feet and finish.
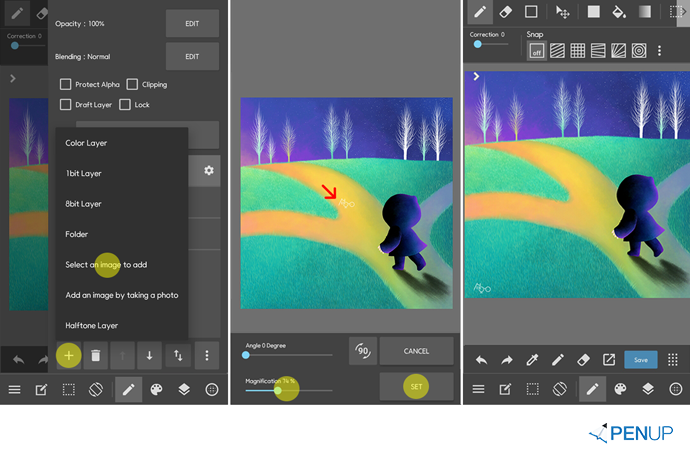
Then, put in the signature.
Select the +button on the left bottom of the layer option window.
Then select the image and add.
When you find the logo stored in your phone and select the logo, the logo would appear at the middle of the drawing.
Adjust the bottom proportion and adjust it to the size you want.
Then confirm.
It will all finish once you locate the logo at your preferred spot.
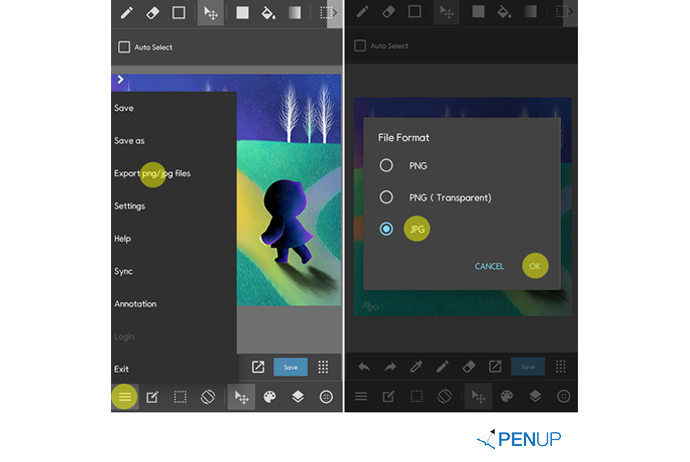
“Export” the image for online posting.
Select the left bottom on the screen and select “export png/jpg format export”.
Select the item from the output format; then the finished drawing will be created in the gallery.
Thank you for your attention throughout this ^^
It was valuable time with @wandering_girl, learning how to draw the character with the “MediBang Paint” drawing tool.
It looks quite complex, but going one by one, anyone could draw a character of their own.
Thank you @wandering_girl for your drawing tips!
PEN.UP - Share your drawings!
http://www.penup.com-The PEN.UP Team
 |
|